
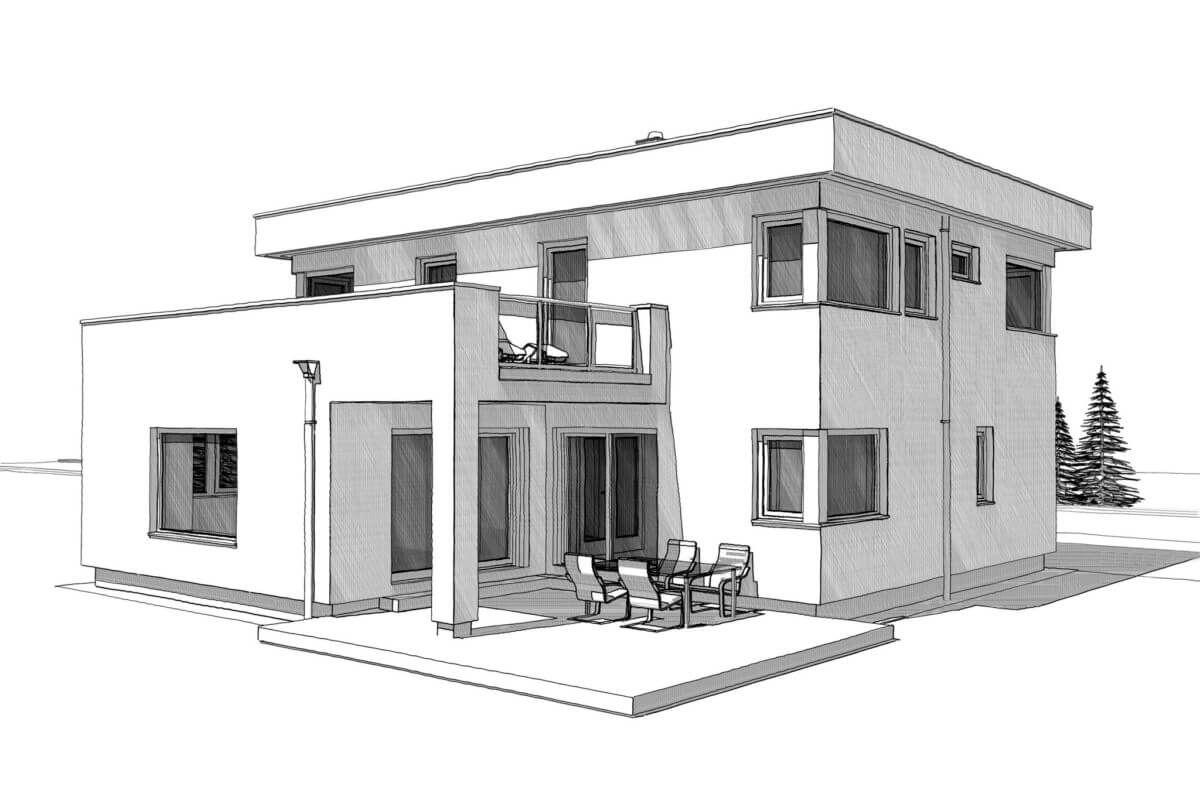
Learning facade design requires an understanding of space, materials and details alongside drawing and modelling skills. A facade is more than a layer that hides construction: it relates to daylight, climate, durability and the connection between inside and outside. Visual elevation references can support comparison, but cannot replace project analysis.
Begin with the concept and building needs
Identify requirements for openings, daylight and privacy, then develop an idea that organises those relationships. A reference can suggest rhythm or pattern without turning the building into an enlarged copy of an object. A useful concept supports decisions rather than merely naming a shape.
Explain the principal choices and alternatives to the client, including their material and construction implications. Every line does not require a full lesson, but clear communication about important architectural and technical decisions belongs in the design process.

Study alignment, scale and proportion
Window axes, floor levels and edges create visible relationships. Check alignment where it supports the idea without treating it as a rigid rule for every composition. Review scale both from the street and at the entrance, where the same element can be perceived differently.
Proportion concerns relationships between parts and the whole. A module can help test them, but it does not require every window to be a multiple of one stone unit. Dimensions must also work for use, construction and materials before their visual consistency is reviewed.
Connect plans, elevations and sections
Transfer rooms, openings and actual floor heights into the elevations. Review projections, recesses and material transitions in sections. Turning a plan vertically is not a universal design method; interior and exterior decisions can develop together through several iterations.
Our facade materials article examines brick, stone, timber and glass in more detail. This learning guide focuses on the design process rather than repeating a complete materials catalogue.

Develop details from the beginning
Draw a window section, a material junction and a roof-edge detail. Review installation, maintenance and water management with the relevant specialists. Details are not simply added after the rendering; they can affect thickness, composition and the arrangement of the facade.
Professional facade design combines those decisions with drawings, specifications and coordination. A compelling image supports communication, while clear documentation is needed to deliver the idea.
Select software for the task
SketchUp, Revit and 3ds Max offer different tools for modelling, documentation or presentation. Choose for the project and workflow rather than assuming that a program’s name guarantees a better result. Model quality, lighting, materials and user skill all affect the presentation.
Practise through a complete design exercise
Start with a simple plan and real floor heights. Draw the openings and levels, then create three alternatives with different rhythms and solid-to-void relationships. For each, explain its response to daylight, privacy, the roofline and neighbouring buildings.
Compare the options, develop a section and detail for the selected approach, and review it in a model. Seek feedback on consistency between the drawings and record what changed and why. This turns practice into training in architectural decisions rather than image imitation.